$2,813 pp (USD)
2 travelers on Start dateArrival
Arrival

Day 1
Arusha/Moshi to Londorossi Gate, Hiking to Mti Mkubwa
Arusha/Moshi to Londorossi Gate, Hiking to Mti Mkubwa
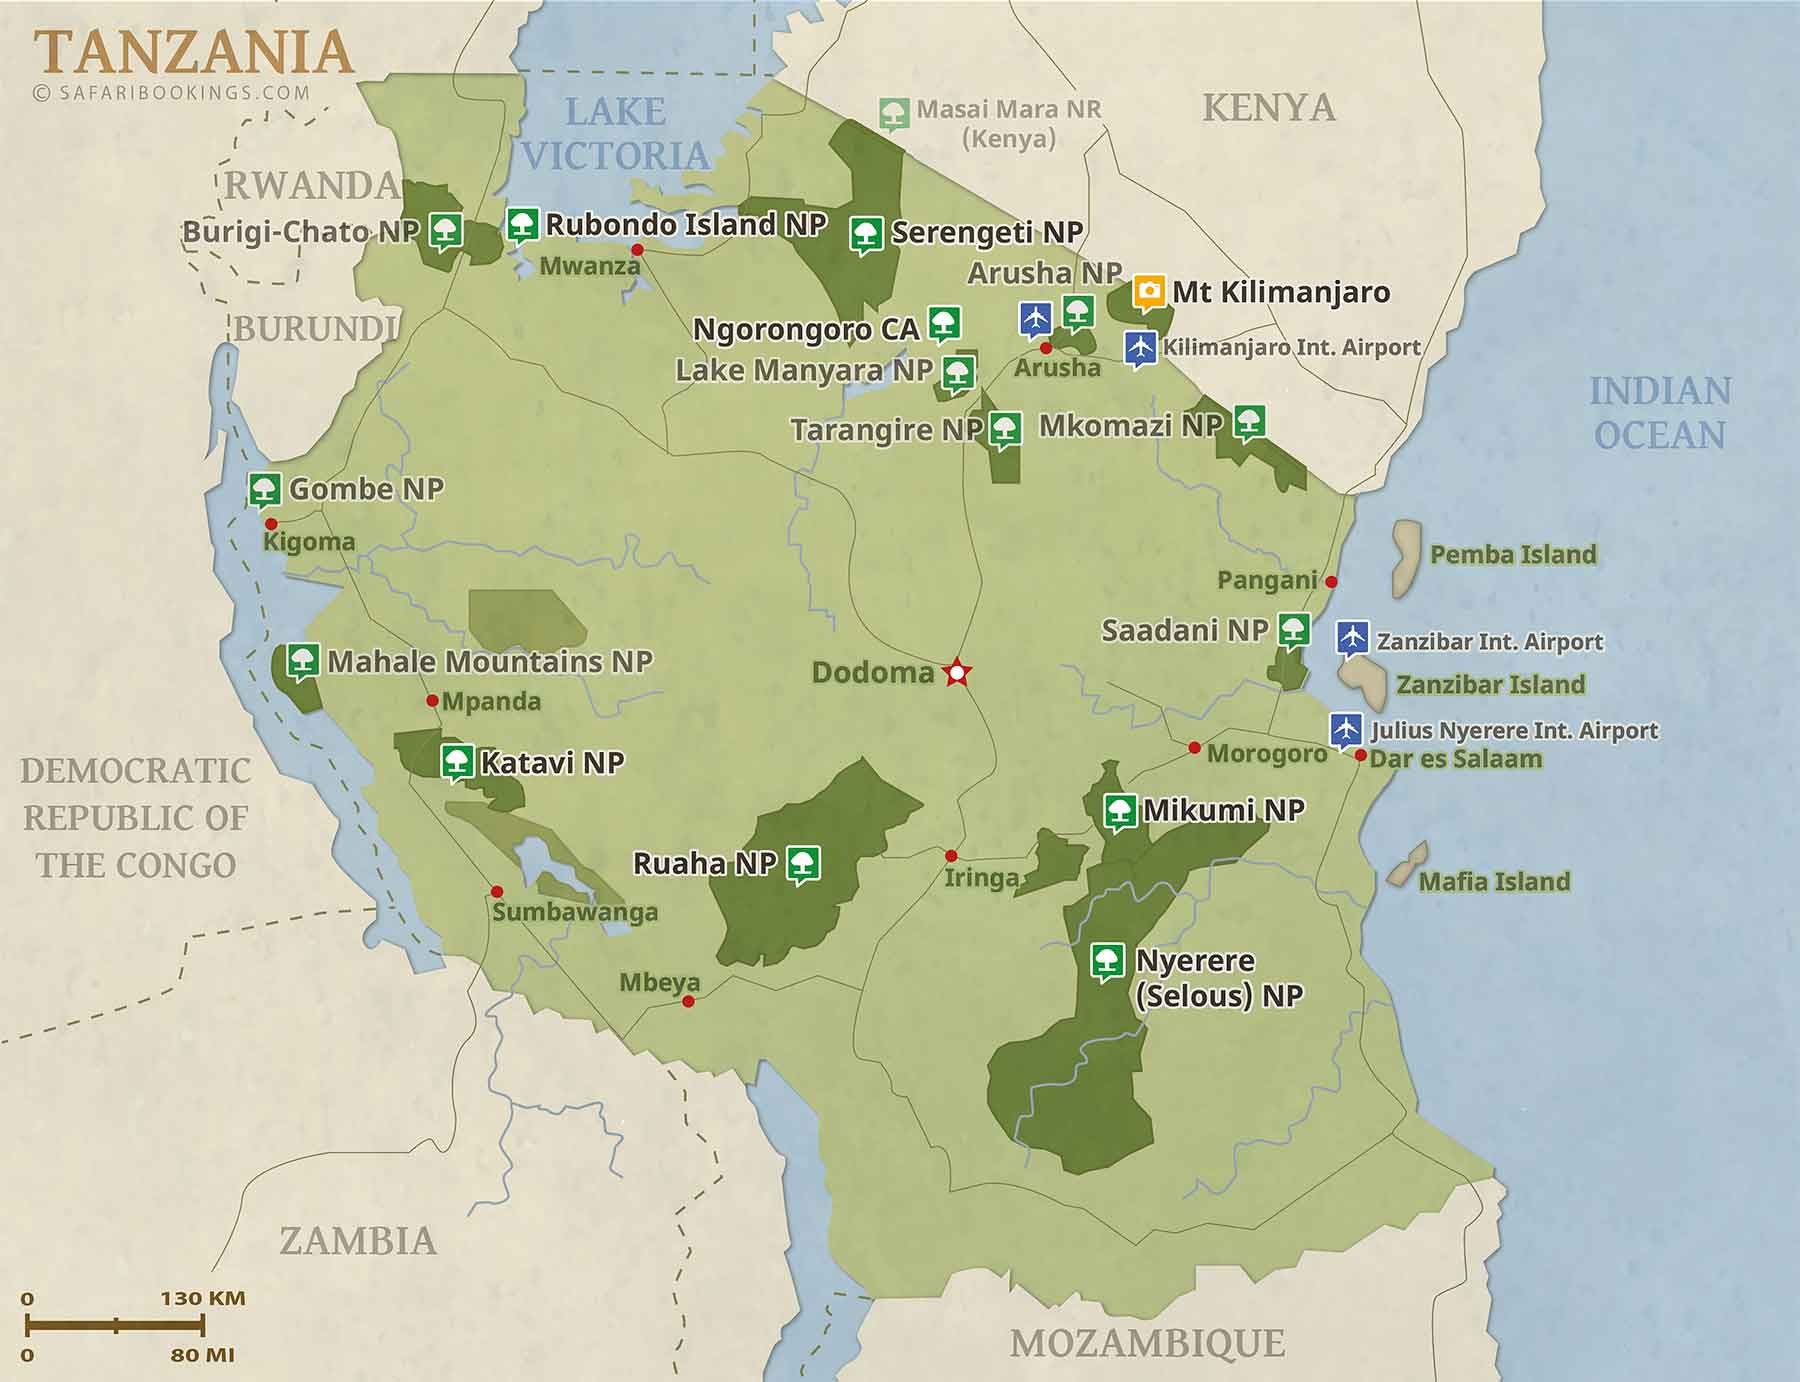
After breakfast and a full trip briefing in Arusha or Moshi, you’ll drive to Londorossi Gate (approximately 3–4 hours). Upon completing park formalities, continue on a scenic forest drive in a vehicle through dense montane rainforest to Morum Barrier. From Morum Barrier, your trek begins. The trail winds gently through lush forest, rich with towering trees, moss-covered trunks, and the sounds of birds and colobus monkeys. As you gradually gain elevation, the vegetation begins to thin, opening up views toward the edge of the Shira Plateau. After several hours of steady hiking, you’ll arrive at Mti Mkubwa Camp (“Big Tree Camp”), set within the forest. Here you can relax, enjoy dinner, and settle in for your first night on the mountain.
Elevation: 1830m/6000ft to 2650m/8700ft
Distance: 6km/4mi
Hiking Time: 2-3 hours
Habitat: Montane Forest
Meals: Breakfast, Lunch and Dinner.
- Main Destination:
- Mount Kilimanjaro
- Accommodation:
- Budget camping
- Meals & Drinks:

Day 2
Mti Mkubwa to Shira 1 Camp
Mti Mkubwa to Shira 1 Camp
The day begins with a steady ascent as you leave the dense rainforest of Mti Mkubwa Camp behind. The trail gradually climbs through thinning forest, where towering trees give way to smaller vegetation and the air starts to feel cooler and drier. As you gain altitude, the landscape transitions into heath and moorland, offering your first clear views of the surrounding mountains and open terrain.
The hike becomes more gradual as you approach the Shira Plateau, one of Kilimanjaro’s most scenic areas. Upon arrival at Shira 1 Camp, you’ll be rewarded with expansive views across the plateau and, on clear days, your first glimpse of Kibo Peak. This is an important acclimatization day, allowing your body to adjust to the increasing altitude while you rest and prepare for the days ahead.
Elevation: 2,650 m (8,692 ft) → 3,610 m (11,844 ft)
Distance: 8km/5mi
Hiking Time: 5-6 hours
Habitat: Moorland
Meals: Breakfast, Lunch and Dinner.
- Main Destination:
- Mount Kilimanjaro
- Accommodation:
- Budget camping
- Meals & Drinks:

Day 3
Shira 1 to Moir Hut
Shira 1 to Moir Hut
From Shira 1 Camp, the trail gently ascends across the vast Shira Plateau, offering sweeping views and a peaceful, less-traveled path. The terrain transitions from moorland to rocky landscapes as you gain altitude gradually, aiding acclimatization. A detour toward the volcanic ridges provides a “climb high, sleep low” advantage before descending slightly to Moir Hut. This remote campsite sits beneath Lent Hills, with optional short hikes to further support altitude adjustment and enjoy the unique alpine scenery.
Elevation: 3,610 m to 4,200 m
Distance: ~9 km
Habitat: Moorland to alpine desert
Hiking Time: 5–7 hours.
- Main Destination:
- Mount Kilimanjaro
- Accommodation:
- Budget camping
- Meals & Drinks:

Day 4
Moir Hut to Lava Tower, then Lava Tower to Barranco Camp
Moir Hut to Lava Tower, then Lava Tower to Barranco Camp
From Moir Hut, the trail climbs steadily into the alpine desert toward Lava Tower, a key acclimatization point at 4,600 m. The landscape becomes stark and rugged, with expansive views and thinner air as you “climb high.” After a rest at Lava Tower, the route descends to Barranco Camp, allowing your body to recover while following the “sleep low” principle. The descent reveals the dramatic Barranco Valley, with giant senecios and towering cliffs, offering one of the most scenic sections of the trek.
Moir Hut to Lava Tower
Elevation: 4,200 m to 4,600 m
Distance: ~7 km
Habitat: Alpine desert
Hiking Time: 3–4 hours
Lava Tower to Barranco Camp
Elevation: 4,600 m to 3,950 m
Distance: ~3 km
Habitat: Alpine desert to moorland
Hiking Time: 2–3 hours.
- Main Destination:
- Mount Kilimanjaro
- Accommodation:
- Budget camping
- Meals & Drinks:
Day 5
Barranco Camp to Karanga Camp
Barranco Camp to Karanga Camp
After breakfast at Barranco Camp, you begin with the ascent of the Barranco Wall. Though steep, it’s a non-technical climb with some light scrambling, rewarding you with stunning views of the valley below and Kibo’s glaciers above.
At the top, the trail continues over rolling ridges and valleys with unique alpine plants like giant groundsels and lobelias. You then descend into Karanga Valley for a short rest or lunch.
After crossing the valley, a steady climb leads to Karanga Camp, passing the junction to the Mweka Trail. This shorter day supports rest and acclimatization.
Elevation: 4000m/13,000ft to 4050m/13,250ft
Distance: 5km/3mi
Climbing Time: 3-4 hours
Habitat: Alpine Desert
Meals: Breakfast, Lunch and Dinner.
- Main Destination:
- Mount Kilimanjaro
- Accommodation:
- Budget camping
- Meals & Drinks:
Day 6
Karanga Camp to Barafu Camp
Karanga Camp to Barafu Camp
After breakfast at Karanga Camp, you begin a steady ascent into the high alpine zone. The landscape becomes increasingly barren, with sparse vegetation giving way to volcanic rock and scree as you climb the slopes of Mount Kilimanjaro. The air thins and the surroundings grow more rugged and exposed.
You join the final section of the South Circuit route, enjoying distant views of the summit from different angles. The trail is slow and demanding, requiring a careful pace to conserve energy for the climb ahead.
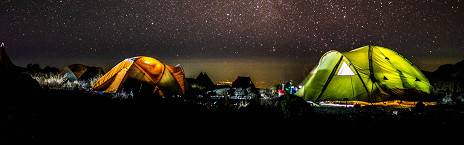
You eventually reach Barafu Camp, set on a rocky ridge in a harsh alpine desert. On clear days, both Mawenzi and Kibo peaks are visible. Here you rest, have an early dinner, and prepare for the midnight summit attempt.
Elevation: 4050m/13,250ft to 4700m/15,350ft
Distance: 4km/2mi
Climbing Time: 3-4 hours
Habitat: Alpine Desert
Meals: Breakfast, Lunch and Dinner.
- Main Destination:
- Mount Kilimanjaro
- Accommodation:
- Budget camping
- Meals & Drinks:

Day 7
Barafu Camp to Summit, then descending to Crater Camp
Barafu Camp to Summit, then descending to Crater Camp
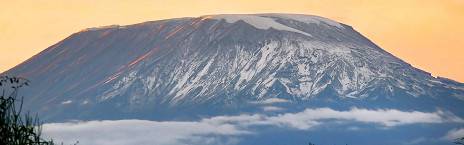
From Barafu Camp, the summit push begins around midnight, ascending steep scree under starlight toward Stella Point and onward to Uhuru Peak, the highest point in Africa. The climb is demanding due to altitude and cold, but reaching the summit at sunrise offers unforgettable views over glaciers and clouds. After celebrating, descend carefully to Crater Camp, crossing the rim into a rare high-altitude campsite near the Rebmann Glacier, where the stark, icy landscape provides a unique overnight experience close to the summit.
Barafu Camp to Uhuru Peak
Elevation: 4,673 m to 5,895 m
Distance: ~5 km
Habitat: Alpine desert to arctic summit
Hiking Time: 6–8 hours
Uhuru Peak to Crater Camp
Descent level: 5,895 m to 5,730 m
Distance: ~1.5 km
Habitat: Arctic
Hiking Time: 1–2 hours.
- Main Destination:
- Mount Kilimanjaro
- Accommodation:
- Budget camping
- Meals & Drinks:
Day 8
Crater Camp to Mweka Camp
Crater Camp to Mweka Camp
From Crater Camp, the descent begins early with a traverse back across the rim, leaving the arctic zone and rejoining the trail at Stella Point. The route continues down steep scree slopes through Barafu Camp for a short rest before heading further into the moorland and then lush rainforest. As altitude drops, oxygen increases and the landscape becomes greener and warmer. The long but rewarding descent ends at Mweka Camp, where trekkers enjoy their final night on the mountain surrounded by forest and relief after the summit success.
Descent level: 5,730 m to 3,100 m
Distance: ~12–15 km
Habitat: Arctic → alpine desert → moorland → rainforest
Hiking Time: 6–9 hours.
- Main Destination:
- Mount Kilimanjaro
- Accommodation:
- Budget camping
- Meals & Drinks:
Day 9
Mweka Camp to Mweka Gate, Drive to Arusha/Moshi
Mweka Camp to Mweka Gate, Drive to Arusha/Moshi
After breakfast at Mweka Camp, you descend through lush rainforest toward Mweka Gate. The trail is mostly downhill and can be slippery, passing dense vegetation, tall trees, and rich birdlife. Trekking poles and gaiters are helpful, while lighter clothing becomes more comfortable as you lose altitude.
At Mweka Gate, you complete park formalities and receive your summit certificates.
Your driver then transfers you to Moshi or Arusha (about 1–2 hours), where you can relax and celebrate your achievement.
Descent level: 3090m/10,150ft to 1680m/5500ft
Distance: 10km/6mi
Descending Time: 3-4 hours
Habitat: Forest
Meals: Breakfast and Lunch.
- Main Destination:
- Mount Kilimanjaro
- Accommodation:
- No accommodation (End of tour)
- Meals & Drinks: