$879 pp (USD)
2 travelers on Start dateArrival
Arrival

Day 1
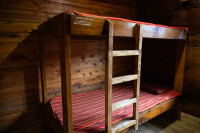
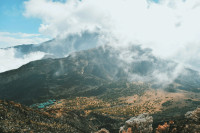
Arusha to Momella Gate to Miriakamba Hut
Arusha to Momella Gate to Miriakamba Hut
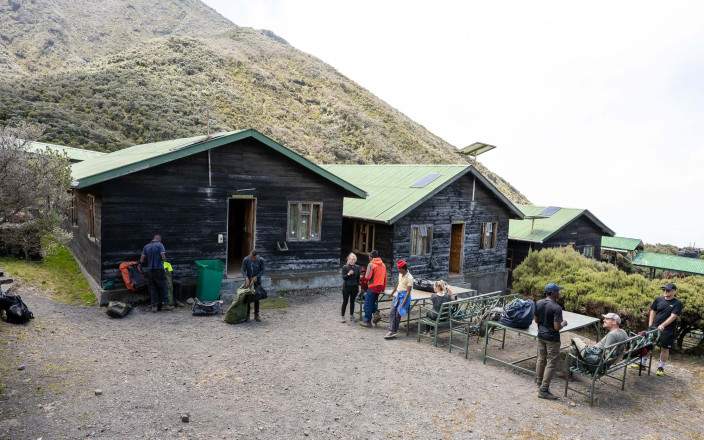
Transfer from your hotel to Arusha National Park, complete entry formalities, and proceed to Momella Gate to begin your trek. Hike with an armed ranger through wildlife-rich terrain where buffalo, warthogs, and elephants may be spotted along the way. The trail ascends through lush sub-montane forest, passing the iconic Strangler Fig tree large enough for vehicles to drive through. Enjoy a picnic lunch en route before continuing into a less dense montane forest with expanding views of Mount Meru’s dramatic cliffs and the Ash Cone. The journey continues toward Miriakamba Huts, beautifully set in a scenic forest glade. Arrive in time to relax and take in sweeping views of the plains stretching between Mount Meru and Mount Kilimanjaro. A rewarding acclimatization trek filled with scenery, wildlife, and changing landscapes.
- Main Destination:
- Mount Meru
- Accommodation:
-
Miriakamba Hut
- Meals & Drinks:

Day 2
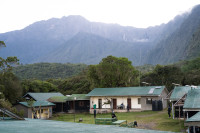
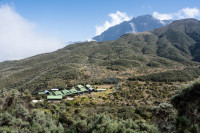
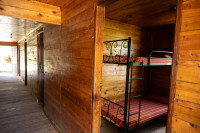
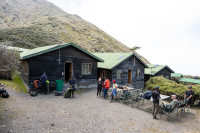
Miriakamba Huts to Saddle Huts
Miriakamba Huts to Saddle Huts
From Miriakamba Huts, the trek becomes a steep ascent toward the crater rim, gaining elevation through increasingly dramatic terrain. The trail continues through dense montane forest before transitioning into the striking giant Erica zone within the moorland, located around the saddle between Little Meru and Mount Meru.
Lunch is typically served upon arrival at Saddle Huts, allowing time to rest and recover after the climb. The afternoon is at leisure, offering space to relax and take in the surrounding alpine scenery. For those with extra energy, an optional short hike to the summit of Little Meru (3,820 m) rewards trekkers with breathtaking panoramic views, especially during sunset when the landscape is painted in warm golden light.
- Main Destination:
- Mount Meru
- Accommodation:
- Saddle Hut
- Meals & Drinks:

Day 3
Saddle Huts to Socialist to Momella Gate
Saddle Huts to Socialist to Momella Gate
Begin the final summit attempt with an early start at around 2:00 am. The climb progresses steadily through the night, reaching Rhino Point (3,800 m) after approximately one hour. From here, the trail descends slightly before continuing along a narrow ridge of ash and volcanic rock toward Cobra Point (4,350 m), typically reached around sunrise as the first light illuminates the dramatic crater landscape.
The final push to the summit takes about one more hour of steep ascent to reach the peak of Mount Meru. After taking time to rest and enjoy the panoramic views from the summit, begin the descent back to Saddle Huts for a well-earned brunch and short recovery break.
Continue the descent via Socialist Peak, enjoying sweeping views along the way, before proceeding down to Momella Gate. Upon arrival, you will be met for transfer back to your hotel, marking the completion of an unforgettable Mount Meru trekking experience.
- Main Destination:
- Mount Meru
- Accommodation:
- No accommodation (End of tour)
- Meals & Drinks: